

Views: 0 Author: Site Editor Publish Time: 2026-08-04 Origin: Site


Floating shelves provide excellent spatial efficiency and a clean aesthetic in tight washrooms. However, mounting them in high-moisture environments leads to a high failure rate for improper DIY installations. A sagging fixture usually points to a failure in understanding wall physics rather than a defective product. Bathrooms present unique structural challenges. You have to navigate hidden plumbing, variable wall substrates like tile or plaster, and constant humidity. Furthermore, these fixtures must support dense, heavy items like liquid-filled glass bottles without visible brackets. We approach this problem systematically. By evaluating the substrate, selecting the right hardware, planning dimensions, and executing precision mounting, you ensure long-term structural integrity. This guide breaks down the exact field methods used by professionals to secure fixtures safely and permanently. We cover substrate evaluation, hardware selection, dimensional planning, and precision mounting to ensure your installation holds up over time.
Substrate Dictates Hardware: Successful installation relies entirely on matching the mounting bracket and anchor type to the specific wall material (studs, hollow drywall, or ceramic tile).
Dimensions Impact Leverage: The depth and thickness of the shelf directly dictate the required bracket strength; deeper shelves exert exponentially more pull-out force on wall anchors.
Weight Capacity is Conditional: Manufacturer weight ratings assume optimal stud installation; relying on drywall anchors reduces functional load capacity by up to 50%.
Moisture Mitigation is Critical: Proper sealing of drill holes and pre-treating wooden shelf materials prevents structural degradation and warping over time.
Precision Tools are Non-Negotiable: Utilizing laser levels and stud finders with AC wire/pipe detection prevents catastrophic plumbing damage and uneven load distribution.
Before drilling a single hole, you must define the requirements for a secure mount. A successful installation hinges on two primary physical forces: shear strength and pull-out resistance. Shear strength refers to the downward force exerted by the weight of the shelf and its contents. Pull-out resistance is the outward force pulling the top of the bracket away from the wall. Understanding the dimensional physics of your specific setup ensures the hardware will not fail under load.
The gold standard for any load-bearing wall fixture is anchoring directly into wooden or metal wall studs. Relying on deep-scan stud finders is the most effective way to locate these structural supports behind standard drywall. Modern electronic stud finders measure density changes in the wall cavity. This allows you to pinpoint the exact center of a stud for maximum fastener engagement.
Drilling blindly into bathroom walls carries severe implementation risks. Bathrooms are densely packed with water supply lines, PVC vent stacks, and electrical wiring. Puncturing a pressurized water line or a drainage pipe behind the wall results in catastrophic water damage. To mitigate this risk, you must map the plumbing zones before drilling.
Follow these steps to map your plumbing zones safely:
Locate the main water supply lines under the sink and behind the toilet.
Visualize vertical lines running directly upward from these valves to the ceiling.
Identify the vent stack location, usually a thick PVC pipe running vertically behind the toilet or main drain.
Scan the intended mounting area with a stud finder equipped with AC wire and metal pipe detection.
Drill a shallow pilot hole just through the drywall layer.
Insert an inexpensive digital endoscope camera through the exploratory hole for cavity inspection if you meet unexpected resistance.
The structural reality of your wall dictates the entire installation protocol. Standard 1/2-inch drywall offers very little pull-out resistance on its own. If you cannot align your bracket with a stud, you must rely on specialized hollow-wall anchors designed to spread the load across a wider surface area behind the drywall.
Older homes frequently feature lath-and-plaster walls. Plaster is harder and more brittle than modern drywall. It requires careful drilling to avoid cracking the surface or breaking the wooden lath strips behind it. Modern bathrooms often feature porcelain or ceramic tile, presenting a completely different challenge. Standard masonry bits will wander on the slick surface and can easily shatter the tile. You must use diamond-tipped hole saws or specialized glass-and-tile bits. Apply steady pressure and utilize a water spray to keep the bit cool and prevent micro-fractures in the glaze.
Wall Material | Recommended Anchor Type | Drill Bit Required | Load Capacity Rating |
|---|---|---|---|
Wood Studs | 2.5-inch Wood Screws | Standard Wood Pilot Bit | Maximum (50+ lbs) |
Hollow Drywall (1/2 inch) | Heavy-Duty Toggle Bolts | Spade Bit or Large Twist Bit | Moderate (15-25 lbs) |
Lath and Plaster | Molly Bolts or Toggle Bolts | Masonry Bit (Low Speed) | Moderate (20-30 lbs) |
Porcelain Tile | Toggle Bolts (through tile into cavity) | Diamond-Tipped Hole Saw | Moderate (15-25 lbs) |
The physics of floating shelves are governed by leverage. The deeper the shelf, the longer the moment arm. Weight placed at the front edge exerts exponentially more pull-out force on the wall anchors than the same weight placed near the back. A shelf deeper than 10 inches requires a significantly thicker profile, typically 2 inches or more. This thickness conceals heavy-duty steel brackets capable of counteracting the increased leverage.
You must match the shelf thickness to the diameter of the internal bracket rods. If the wooden casing is too thin relative to the steel support rods, the internal pressure can cause the wood to split along the grain once weight is applied. A robust framework requires at least half an inch of solid material above and below the internal rod cavity to maintain structural integrity.
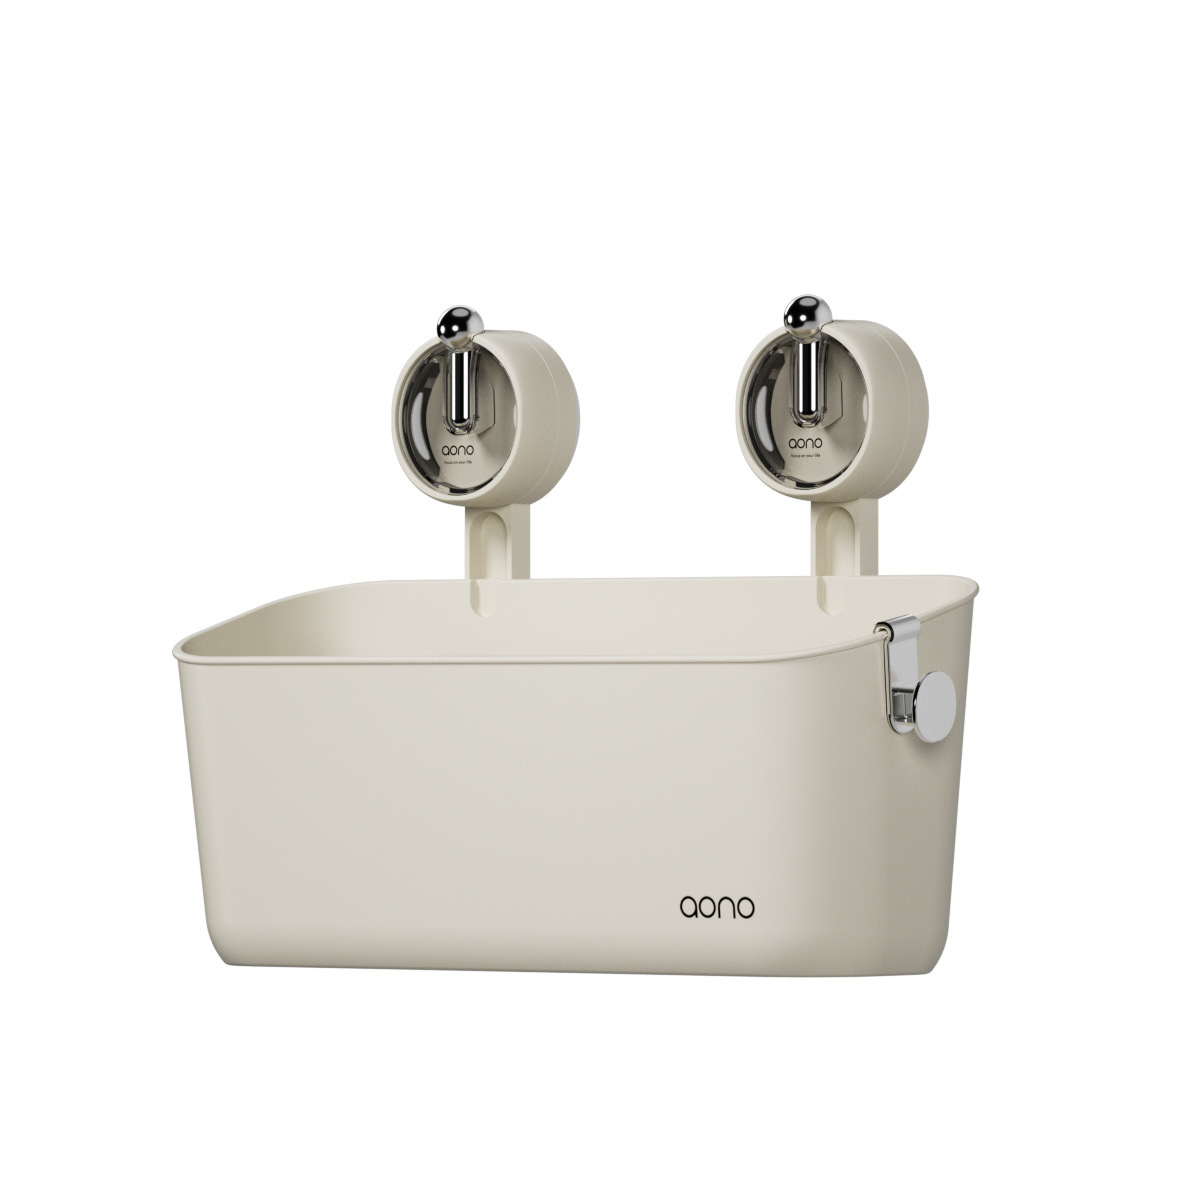
Choosing the right bathroom shelf requires matching the internal support structure to your intended load, aesthetic preferences, and the fabrication method of the shelf itself. Not all floating mechanisms are created equal. Selecting the wrong system guarantees eventual failure.
Steel dual-post brackets are the industry standard for heavy loads and masonry installations. These systems feature a flat steel backplate welded to perpendicular cylindrical rods. The mechanical advantage of these multi-point backplates lies in their ability to distribute weight across a wider horizontal wall area. By providing multiple fastening points spaced closely together, you increase the likelihood of hitting at least one stud while providing redundant anchor points in hollow drywall.
Custom wooden French cleats are ideal for custom-built hollow shelves. A French cleat involves ripping a piece of lumber at a 45-degree angle. One half is secured to the wall studs, and the other half is integrated into the back of the shelf. Gravity locks the two angled faces together. While exceptionally strong when anchored to studs, French cleats require a thicker shelf profile to conceal the mechanism and are less forgiving on uneven walls.
For those building custom shelves, the pre-installation fabrication steps dictate the lifespan of the fixture. You must cut the wood to exact dimensions, route the back edge to completely conceal the bracket base plate for a flush fit against the wall, and apply your chosen stains.
Moisture mitigation is a mandatory step. You must apply a marine-grade polyurethane or a high-quality waterproofing sealant before mounting the shelf. Bathrooms experience rapid temperature fluctuations and heavy steam. Untreated wood, or wood that is only sealed on the visible faces, will absorb ambient humidity through the unsealed back edge or internal rod cavities. This leads to swelling, warping, and eventual structural degradation.
Follow this sealing process for custom wood shelves:
Sand all surfaces, including the routed back edge, with 220-grit sandpaper.
Apply the first coat of marine-grade polyurethane using a foam brush.
Allow the coat to dry completely according to manufacturer specifications.
Lightly sand the dried coat to remove raised wood grain.
Apply a second and third coat, ensuring full coverage on the back edge.
Use a pipe cleaner or cotton swab to coat the inside of the drilled bracket cavities.
There are scenarios where structural drilling is impossible, such as strict lease agreements, temporary housing, or solid glass shower enclosures. In these cases, you must evaluate conceptual trade-offs and look toward non-destructive storage solutions.
Assess the viability of a plastic bathroom corner shelf for lightweight shower storage. These units often utilize tension-rod mechanics, wedging securely between the bathtub ledge and the ceiling. They offer rust-proof benefits and require zero tools for installation. This makes them highly practical for organizing lightweight bottles and sponges in wet zones.
You should also evaluate the limitations of a suction cup bathroom shelf. While convenient, their success depends entirely on surface porosity. The mounting surface must be a completely smooth, non-porous material like large-format glazed tile or glass. Any grout lines or textured stone will break the vacuum seal. Furthermore, analyze the maximum shear load. These units typically support under 5 lbs. Installers must accept the inevitable failure rate due to temperature fluctuations and humidity, which slowly degrade the suction vacuum over time. They are strictly for lightweight, non-fragile items.
When preparing to install a wall-mounted bathroom shelf, precision is everything. Rushing the measuring or drilling phases will result in a slanted surface that allows items to roll off, or a weak mount that pulls away from the wall.
Begin by establishing the optimal ergonomic height for your space. Standard practice places bathroom shelving roughly 4 to 5 feet from the floor. If installing above a toilet, ensure a minimum of 18 to 24 inches of clearance above the tank to allow for easy removal of the toilet lid during plumbing maintenance.
Review the manufacturer instructions thoroughly. Hardware variations dictate specific mounting protocols. Some brackets require perfectly flush mounting, while others allow for slight micro-adjustments. Use a laser level to project a continuous, highly visible horizontal line across your work area. Place the provided bracket template against the laser line and mark your pilot holes directly onto the wall using an awl.
The technical execution of drilling pilot holes determines the grip strength of your fasteners. Always start with a small drill bit to test the substrate. If you hit a wooden stud, you will feel consistent resistance and see wood shavings on the bit.
If hitting a stud, use standard wood screws with a minimum length of 2.5 inches. This ensures the screw passes through the bracket, through the half-inch drywall, and embeds deeply into the structural wood for maximum load-bearing capacity.
If your pilot hole pushes easily into a hollow cavity, you are dealing with unsupported drywall. In this scenario, mandate the use of heavy-duty toggle bolts or snap-skru anchors. Never rely on the cheap, smooth plastic friction anchors often included in mass-market hardware kits. They lack the necessary expansion wings to resist the outward pull of a floating shelf.
Bit Type | Target Material | Drilling Technique | Cooling Method |
|---|---|---|---|
Standard Wood Bit | Wood Studs, Drywall | High speed, steady pressure | None required |
Masonry Bit | Brick, Plaster, Concrete | Low speed, hammer function if needed | Clear dust frequently |
Diamond Hole Saw | Porcelain, Ceramic Tile | Start at 45-degree angle, level out | Continuous water spray |
Carbide Glass Bit | Glass, Soft Tile | Very low speed, light pressure | Water or cutting oil |
Position the steel backplate over your prepared holes. Begin driving the fasteners incrementally, alternating from left to right. Do not tighten one side completely before moving to the other. This can torque the metal bracket or cause it to warp against an uneven wall surface.
Once all fasteners are seated firmly, perform a manual stability check. Grab the protruding support rods and apply downward and outward pressure. Watch the backplate closely. Check for millimeter-level deflection. If the bracket shifts or the drywall flexes visibly, your anchors are insufficient, and you must upgrade them before proceeding.
With the bracket firmly secured, carefully slide the wooden or composite shelf casing over the protruding bracket posts or the wooden cleat. The fit should be snug but should not require excessive force that might damage the wall.
Verify the alignment of the pre-drilled holes located on the underside of the shelf casing with the locking points on the bracket rods. Insert and secure the set screws. These small screws lock the shelf to the internal bracket, preventing forward slippage when items are removed and ensuring the back edge of the shelf remains perfectly flush against the wall.
Understanding how weight interacts with your newly installed fixture is vital for long-term safety. Overloading a floating structure degrades the wall anchors over time, leading to sudden failure.
You need a realistic framework for calculating the actual weight of bathroom essentials. Liquids are heavy. A standard 1-liter bottle of shampoo or body wash weighs approximately 2.2 pounds. Stack a few of these alongside thick glass skincare jars, a ceramic toothbrush holder, and wet towels, and a small shelf can easily be tasked with holding 15 to 20 pounds of static weight.
Item Description | Average Volume/Size | Estimated Static Weight (lbs) |
|---|---|---|
Shampoo / Conditioner | 1 Liter (33.8 oz) | 2.2 lbs each |
Glass Skincare Jars | 4 oz to 8 oz | 0.5 to 1.0 lbs each |
Wet Bath Towel | Standard Bath Size | 3.0 to 4.5 lbs |
Ceramic Toothbrush Holder | Standard Size | 1.5 lbs |
Hair Dryer | Standard Professional | 1.5 to 2.0 lbs |
Remember how leverage works. Items placed at the extreme front edge of a deep shelf exert exponentially more pull-out force on the top wall anchors than items pushed to the back near the wall. Always store your heaviest liquid containers at the rear of the shelf and keep lighter items near the front edge.
For extreme load capacities, such as storing stacks of heavy bath towels or large decorative ceramics weighing over 50 pounds, standard drywall installation is inadequate. If you are executing a full bathroom remodel, detail the process of installing solid wood blocking between the vertical wall studs before hanging the new drywall. This provides a continuous solid wood surface, allowing you to mount heavy-duty brackets anywhere along the wall with massive structural support.
Even a perfectly mounted bracket will fail if the shelf material itself degrades. Medium-Density Fiberboard (MDF) is notorious for swelling and losing structural integrity when exposed to humid environments. If the protective veneer chips, moisture penetrates the core, causing the shelf to sag over the steel rods.
To prevent this, utilize high-quality edge-banding techniques during fabrication to ensure no raw composite material is exposed. For solid wood shelves, establish a maintenance routine that includes the re-application of clear sealants or waxes every few years to maintain the moisture barrier and preserve structural integrity over time.
Even with careful planning, wall irregularities and hidden substrate issues can complicate an installation. Recognizing the symptoms of a failing mount allows you to correct the issue before the shelf collapses.
The most common symptom of a failed installation is a bracket that pulls away from the wall immediately upon bearing weight. This indicates that the drywall anchors have stripped the gypsum core and are slipping out of their holes.
To fix this, remove the shelf and the bracket entirely. Do not attempt to use a larger screw in the same damaged hole. Instead, patch the blown-out hole with a high-strength, setting-type joint compound. Once cured, you have two options. You can relocate the bracket entirely to hit a stud, or upgrade to a heavy-duty strap-toggle anchor. Strap toggles utilize a solid metal channel that flips flat behind the drywall, bridging a much wider surface area and bypassing the crumbled gypsum entirely.
Another frequent issue is a shelf that pitches forward or slopes noticeably to one side, causing items to slide. This is rarely a defect in the bracket. It is usually caused by uneven drywall or a drill bit that wandered during the pilot hole phase.
To correct an out-of-level bracket, remove the shelf casing. Utilize thin composite shims placed directly behind the metal backplate to correct uneven wall surfaces. Tighten the screws to compress the shim until the rods sit perfectly level. Alternatively, you can use a metal file to slightly widen the mounting holes on the bracket itself. This allows for micro-adjustments in the bracket's position before applying the final tightening torque to the wall anchors.
Achieving a secure, perfectly level floating storage solution in a bathroom environment requires more than just driving a few screws into the wall. It is entirely dependent on the quality of the wall anchors, an understanding of the depth-to-thickness ratio of the shelf material, and the precision of the backplate installation. Ignoring the physical realities of leverage and moisture will inevitably lead to structural failure.
When planning your space, prioritize heavy-duty steel bracket systems anchored directly into wooden studs for your primary storage needs. Relegate non-destructive options, such as suction or tension-based systems, strictly to lightweight, temporary shower use where structural drilling is not feasible.
To ensure your next installation is successful, take the following actions:
Acquire a reliable electronic stud finder with AC wire and pipe detection capabilities to safely map your bathroom walls.
Verify your exact wall substrate to purchase the correct specialized anchors or masonry drill bits before beginning the project.
Select a shelf and bracket system rated for at least 20% more weight than you actually intend to store.
Seal all raw wood edges and internal bracket cavities with marine-grade polyurethane to block steam and humidity penetration.
A: Weight capacity depends entirely on the mounting method. A shelf anchored directly into dual wooden studs can typically hold 40 to 50 pounds safely. If mounted into hollow drywall using heavy-duty toggle bolts, capacity drops to roughly 15 to 25 pounds. Always consult the bracket manufacturer's specifications and remember that deeper shelves hold less weight due to increased leverage.
A: Yes, but it requires specialized tools. You must use a diamond-tipped hole saw or a carbide-tipped glass bit to drill through the tile without cracking the glaze. Keep the bit cool with water while drilling. Once through the tile, you must anchor into the stud or use appropriate hollow-wall anchors in the substrate behind the tile.
A: Forward tilt is usually caused by insufficient wall anchors pulling out of the drywall, or a wall surface that is not perfectly plumb. It can also occur if the shelf casing is too thin and the internal wood is compressing against the steel bracket rods. Fix this by upgrading to toggle bolts or placing shims behind the lower edge of the wall bracket.
A: Yes. Bathrooms experience rapid humidity spikes and ambient steam from hot showers. Even if the shelf is across the room, untreated wood or MDF will absorb moisture from the air, leading to swelling, warping, and peeling veneer over time. Always seal all surfaces, including the back edge and internal holes.
A: The optimal height is generally 18 to 24 inches above the top of the toilet tank. This provides adequate vertical clearance to comfortably remove the tank lid for plumbing repairs without striking the bottom of the shelf, while keeping stored items within easy ergonomic reach.
A: No. Standard plastic friction anchors lack the expansion wings required to resist the outward pull-out force generated by a floating shelf. They will eventually slip out of the drywall under load. Always use heavy-duty toggle bolts or snap-skru anchors when mounting into hollow drywall cavities.


